

Under‑Deck Drainage Systems: How to Create Dry, Usable Space Under Your Deck
In this guide, you’ll learn:
How under‑deck drainage systems work
The difference between joist‑top and ceiling‑mounted systems
Typical costs for Seattle‑area homes
Best materials for PNW weather
When to install drainage during your deck project
How drainage ties into soffits, lighting, and outdoor living upgrades
Common mistakes to avoid
FAQs homeowners ask before choosing a system
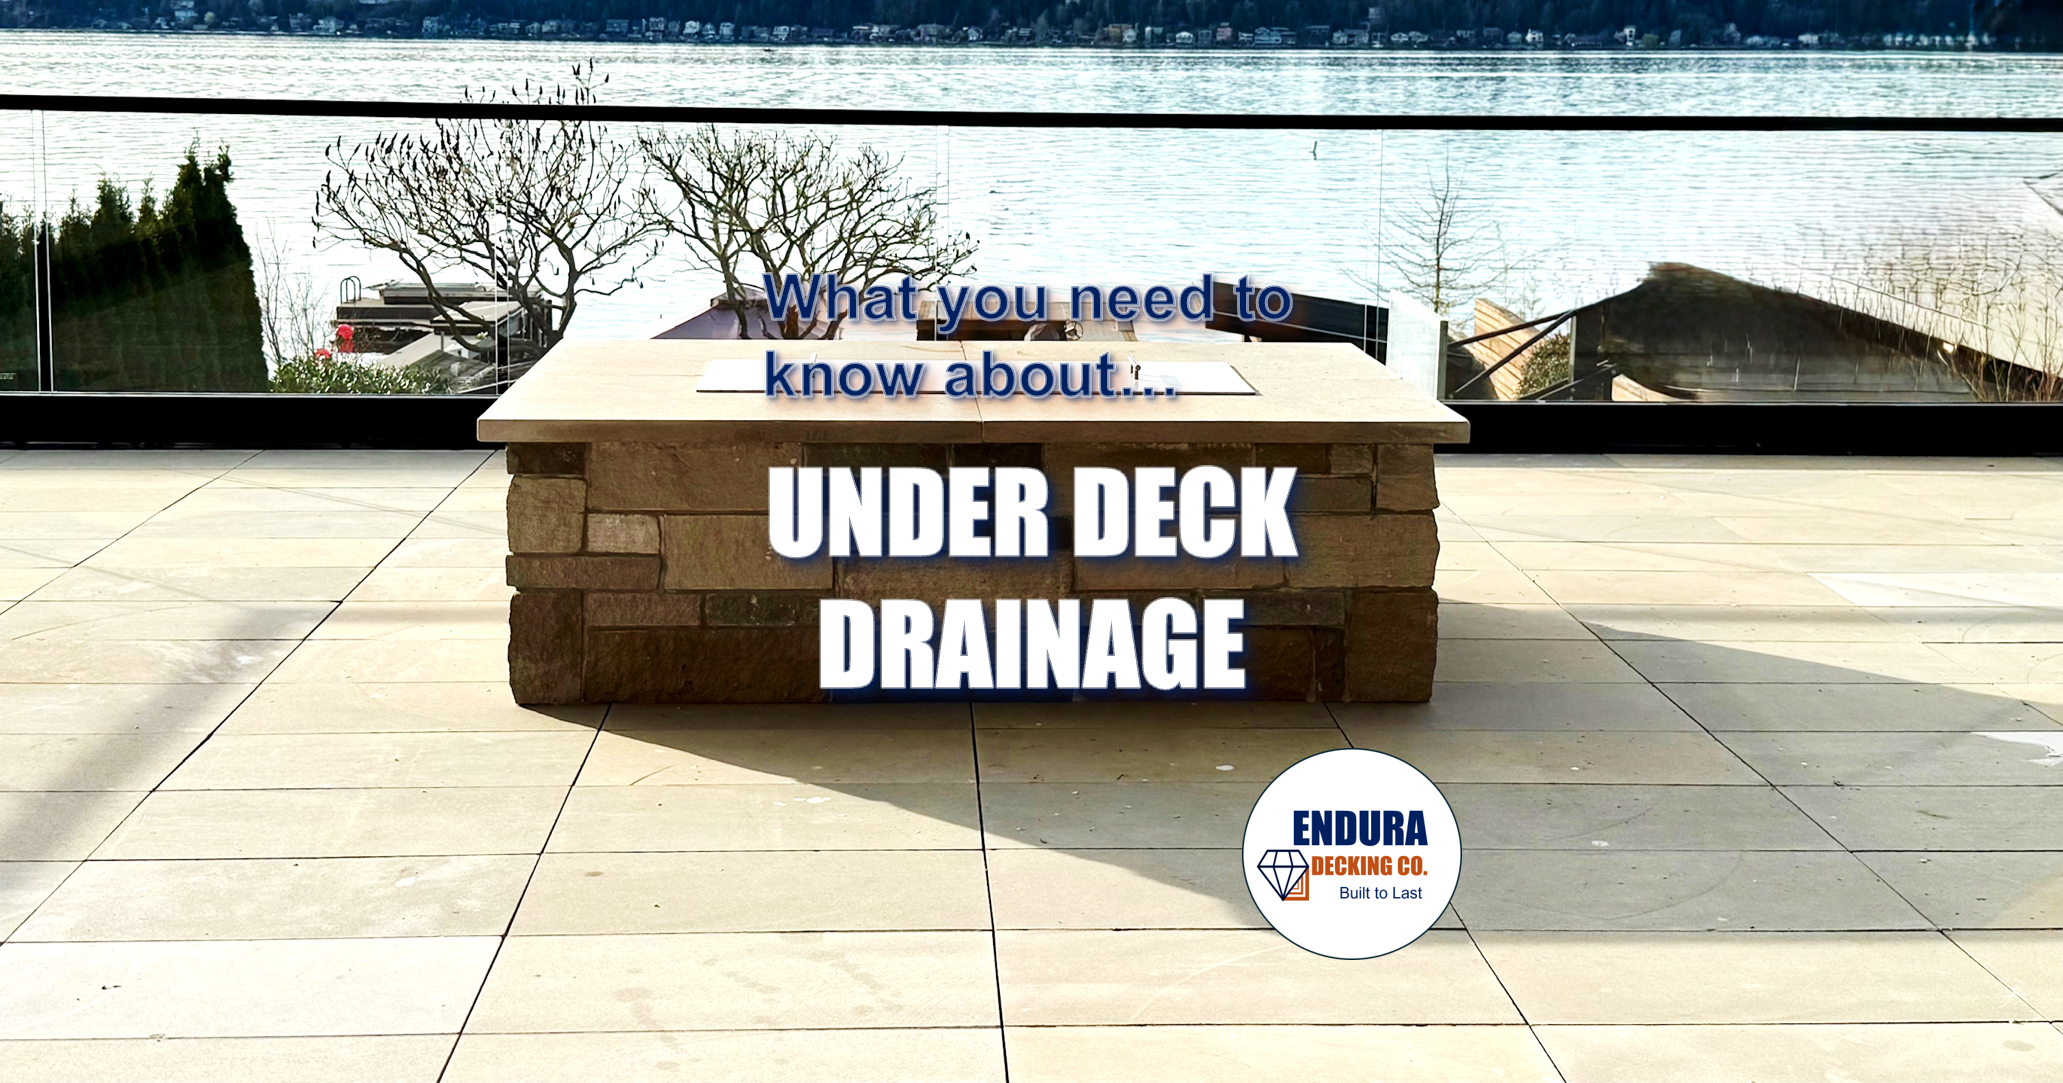
Under-deck drainage system for a weatherproof deck with outdoor living space below.
Creating a dry, usable space under your deck is one of the most valuable upgrades you can make to your outdoor living area. In the Seattle region—where rain is a year‑round reality—under‑deck drainage systems allow homeowners to enjoy covered patios, storage areas, outdoor kitchens, and protected seating spaces without worrying about water dripping through the deck above.
As a general contractor with more than 10 years of experience building outdoor living spaces across Sammamish, Redmond, Issaquah, Bellevue, and Mercer Island, I’ve installed every type of under‑deck drainage system. This guide breaks down how they work, what they cost, and how to choose the right system for your home.
1. What Is an Under‑Deck Drainage System?
An under‑deck drainage system captures water that falls between deck boards and channels it away from the space below. This creates a dry, protected area that can be finished with soffits, lighting, heaters, fans, and even outdoor kitchens.
There are four main types of drainage systems used in the PNW.
2. The Four Types of Under‑Deck Drainage Systems
A. Joist‑Top Drainage Systems (Installed Above the Joists)
Examples: Trex RainEscape®, TimberTech DrySpace®
These systems install before deck boards and create a waterproof barrier above the framing. They’re ideal for new deck builds and provide the highest level of framing protection.
Best for:
New decks
Homeowners wanting a fully dry space below
Long‑term framing protection
B. Ceiling‑Mounted Drainage Systems (Installed Below the Joists)
Examples: Aluminum soffit systems, UnderCover Systems
These systems attach under the deck framing and channel water into gutters. They’re perfect for retrofits but do not protect framing from moisture.
Best for:
Existing decks
Homeowners wanting a finished ceiling look
Projects where joist‑top systems aren’t possible
C. PVC Waterproof Membrane + Pedestal System (Installed Above the Joists)
This premium system uses:
A PVC waterproof membrane installed over the framing
Adjustable pedestals placed on top
Decking installed on the pedestals, floating above the membrane
This creates a fully waterproof roof‑like surface and is the most durable option for high‑end outdoor living spaces. This option is Steve’s recommended option for the best waterproofing.
Best for:
Rooftop decks
Decks over living space
Luxury outdoor rooms
Maximum waterproofing performance
D. Rubber Gasket Between Deck Boards (Grooved Board Seal System)
Examples: Dexerdry (most recognized), Gorilla Deck gasket systems
These systems use a rubberized gasket that fits into the side grooves of deck boards to block water from dripping through.
Best for:
Light‑duty moisture control
Homeowners wanting a simple solution
Retrofits where full drainage systems aren’t feasible
Important:
This system do not create a fully waterproof space and should not be used where electrical, storage, or finished soffits are planned. Steve does not recommend this system because it does not supply adequate protection for creating a fully functional and beautiful outdoor living area.
3. Costs for Under‑Deck Drainage Systems in the Seattle Area
Costs vary based on system type, deck size, and whether you’re adding soffits or lighting.
Typical Price Ranges (not including labor and additional materials):
Joist‑top systems: $12–$25 per sq. ft.
Ceiling‑mounted systems: $20–$40 per sq. ft.
Pedestal systems: $60–$90+ per sq. ft.
Gasket systems: $4–$20 per sq. ft.
Finished soffits: $20–$40 per sq. ft.
If you’re planning a new deck, installing drainage during construction is the most cost‑effective approach.
4. Best Materials for PNW Weather
The Pacific Northwest demands materials that can handle moisture, temperature swings, and year‑round rain.
Top Choices:
TimberTech DrySpace (durable, modern, low maintenance)
PVC‑based drainage membranes with pedestals system (long‑lasting, waterproof)
It’s essential that both these options are integrated with an integrated gutter system that can direct water away cleanly. We can pair both these options with Azek Vintage PVC decking, which performs exceptionally well above drainage systems because it doesn’t absorb moisture or rot.
5. When to Install an Under‑Deck Drainage System
The best time to install drainage is during the deck build, before boards go down. This allows us to:
Protect framing
Hide all drainage components
Add soffits, lighting, and heaters seamlessly
Ensure proper slope and water flow
Build out a fully functional, year-round outdoor living space
If you already have a deck, ceiling‑mounted systems or gasket systems are excellent retrofit options.
6. Design Options for the Space Below
Once the area is dry, homeowners often add:
Finished aluminum soffits
Recessed lighting
Ceiling fans
Gas, electric or infared heaters
Outdoor kitchens
Storage areas
TV walls
Stone or paver patios
This is where your outdoor living space becomes a true extension of your home.
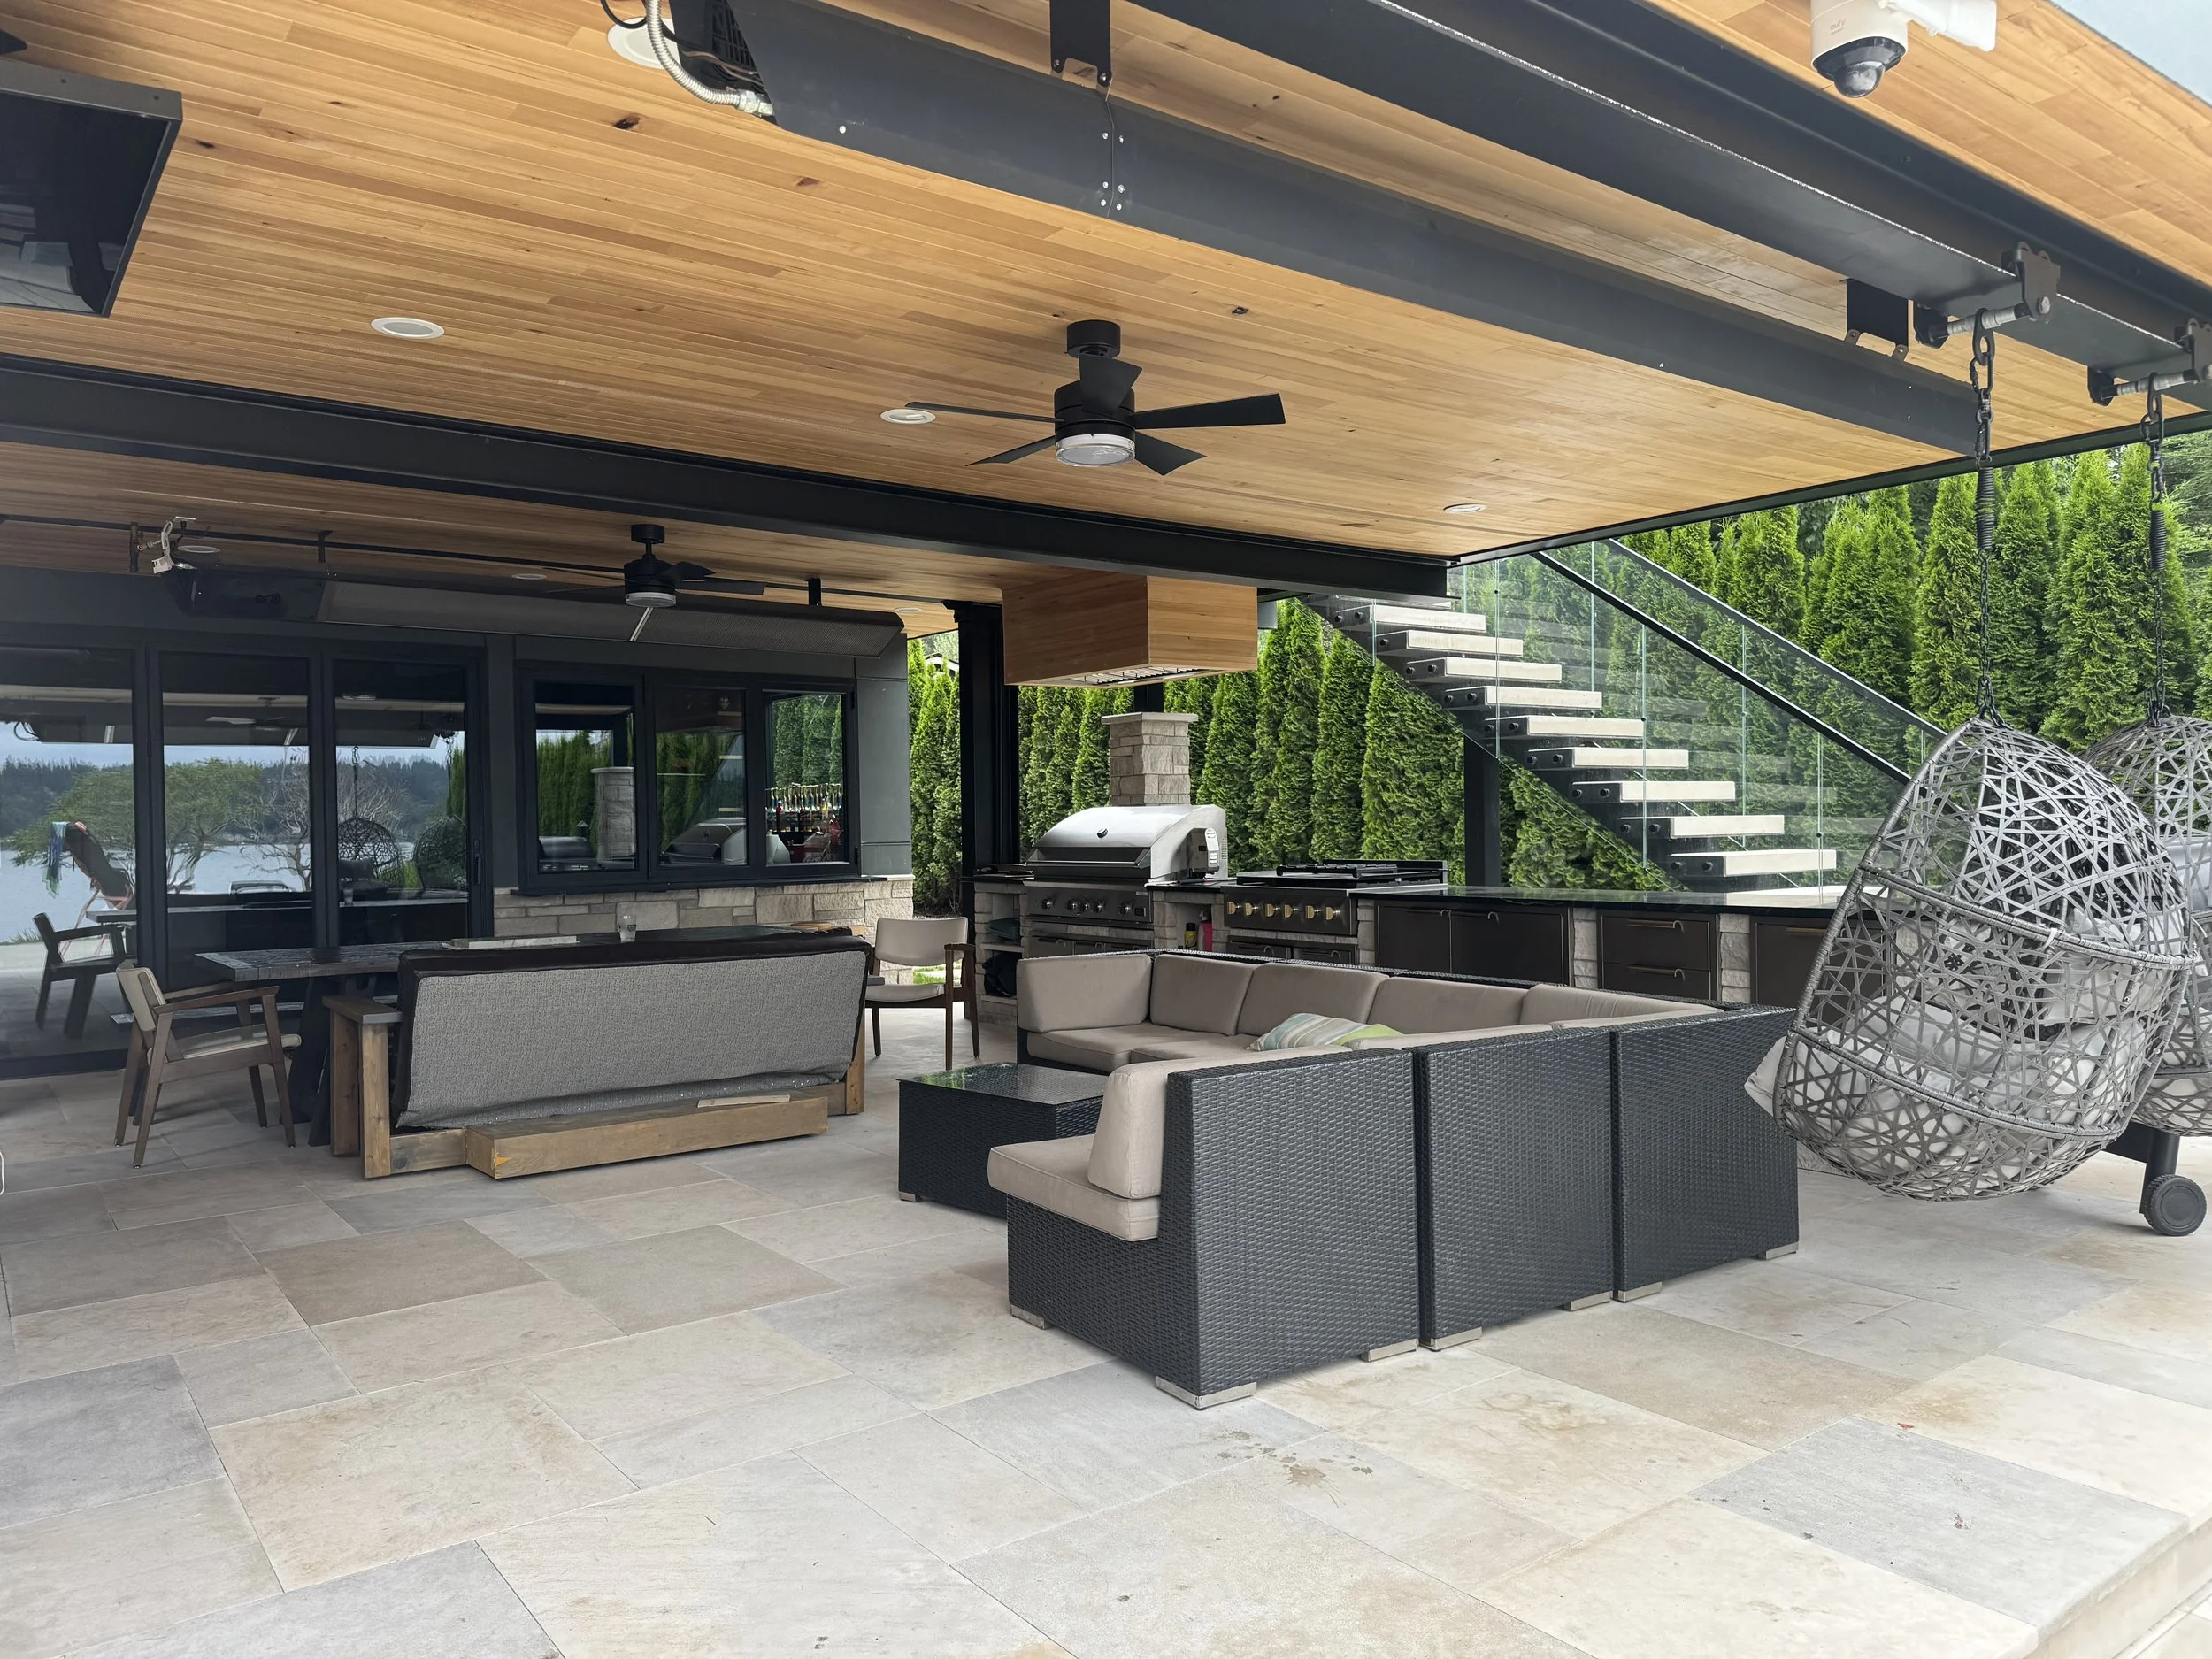
Year round outdoor living with full waterproofed deck built with PVC liner and pedestals above.
7. Common Mistakes to Avoid
Installing drainage after deck boards without planning
Using wood soffits (they warp in PNW moisture)
Not providing enough slope for water flow
Forgetting electrical planning
Choosing materials that trap moisture against framing
We design every system to avoid these issues and ensure long‑term performance.
8. meet endura decking co
Endura Decking Co. participates in local home shows, supports youth sports, and stays active with Eastside chambers of commerce. These events give homeowners a chance to see materials, compare pricing options, and explore design ideas.
Follow our social channels for updates on upcoming events.
Read our reviews!
FAQ
Can I add drainage to an existing deck?
Yes — ceiling‑mounted and gasket systems are ideal for retrofits.
Does drainage protect my framing?
Joist‑top and pedestal systems do. Ceiling‑mounted and gasket systems do not.
Can I add lighting or heaters under the deck?
Yes — once the space is dry, we can integrate lighting, fans, and heaters.
Will drainage make my deck hotter?
No — aluminum soffits reflect heat and stay cool.
is it time to design your deck for YEAR-ROUND outdoor living?
If you’re planning a new deck or want to turn the space beneath your existing deck into a dry, usable outdoor living area, we can help you design the perfect under‑deck drainage system for PNW weather.